Kubernetes Cluster#
The time has come!
My homelab ecosystem will grow to include a kubernetes cluster. 💪
Additional Hardware#
Sure, I could use virtualization to simulate more machines.
But I think its cooler to have the real thing.
Additions:
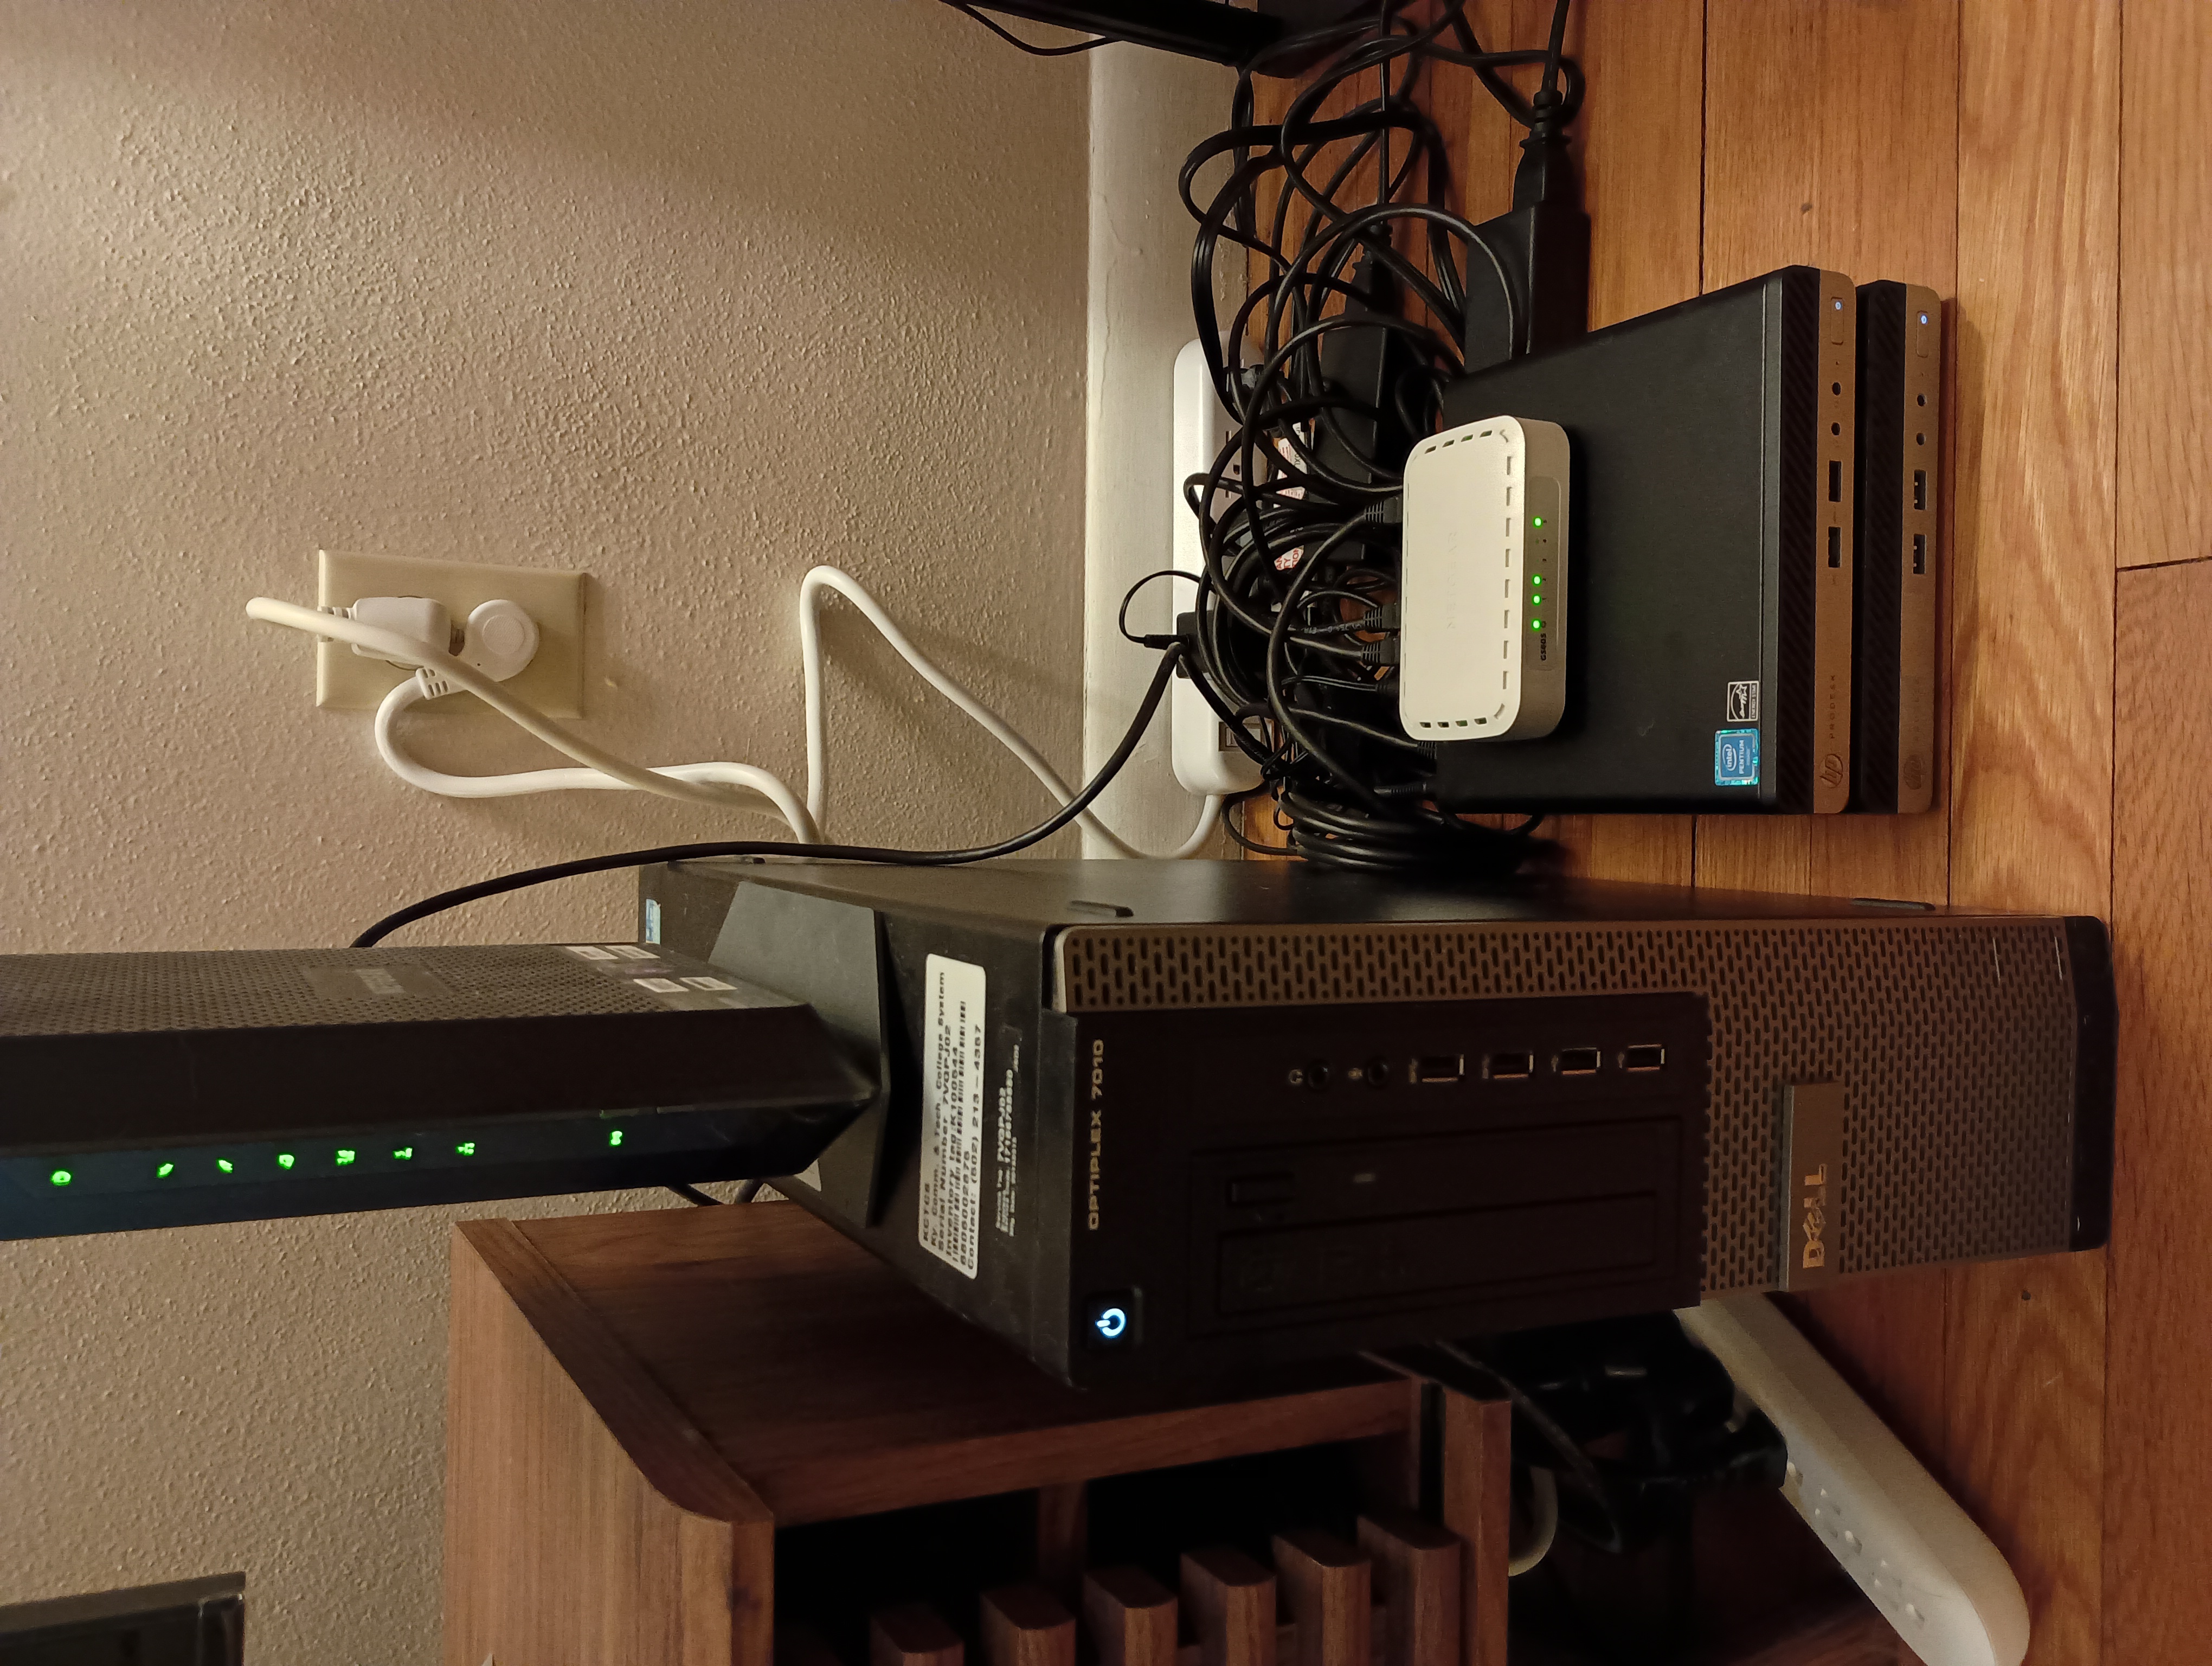
- 1 Netgear 5 Port Gigabit Network Switch ($25)
- 2 HP Prodesk 400 G3 Mini PCs off Ebay ($170 for the pair)
- Pentium G4400T CPU (2.9Ghz)
- 8 GB RAM
- 256 GB SSD
- 3 Cat6 cables to wire it all together ($15)
Total homelab hardware cost now sits at $310.
Roles#
I’ll leave my ‘homelab’ host dedicated to all non-kubernetes services.
The 2 HPs will become the cluster.
This maintains a clean separation of concerns.
OS Installation#
I repeat similar steps in Ch 1 to install Debian on both new machines.
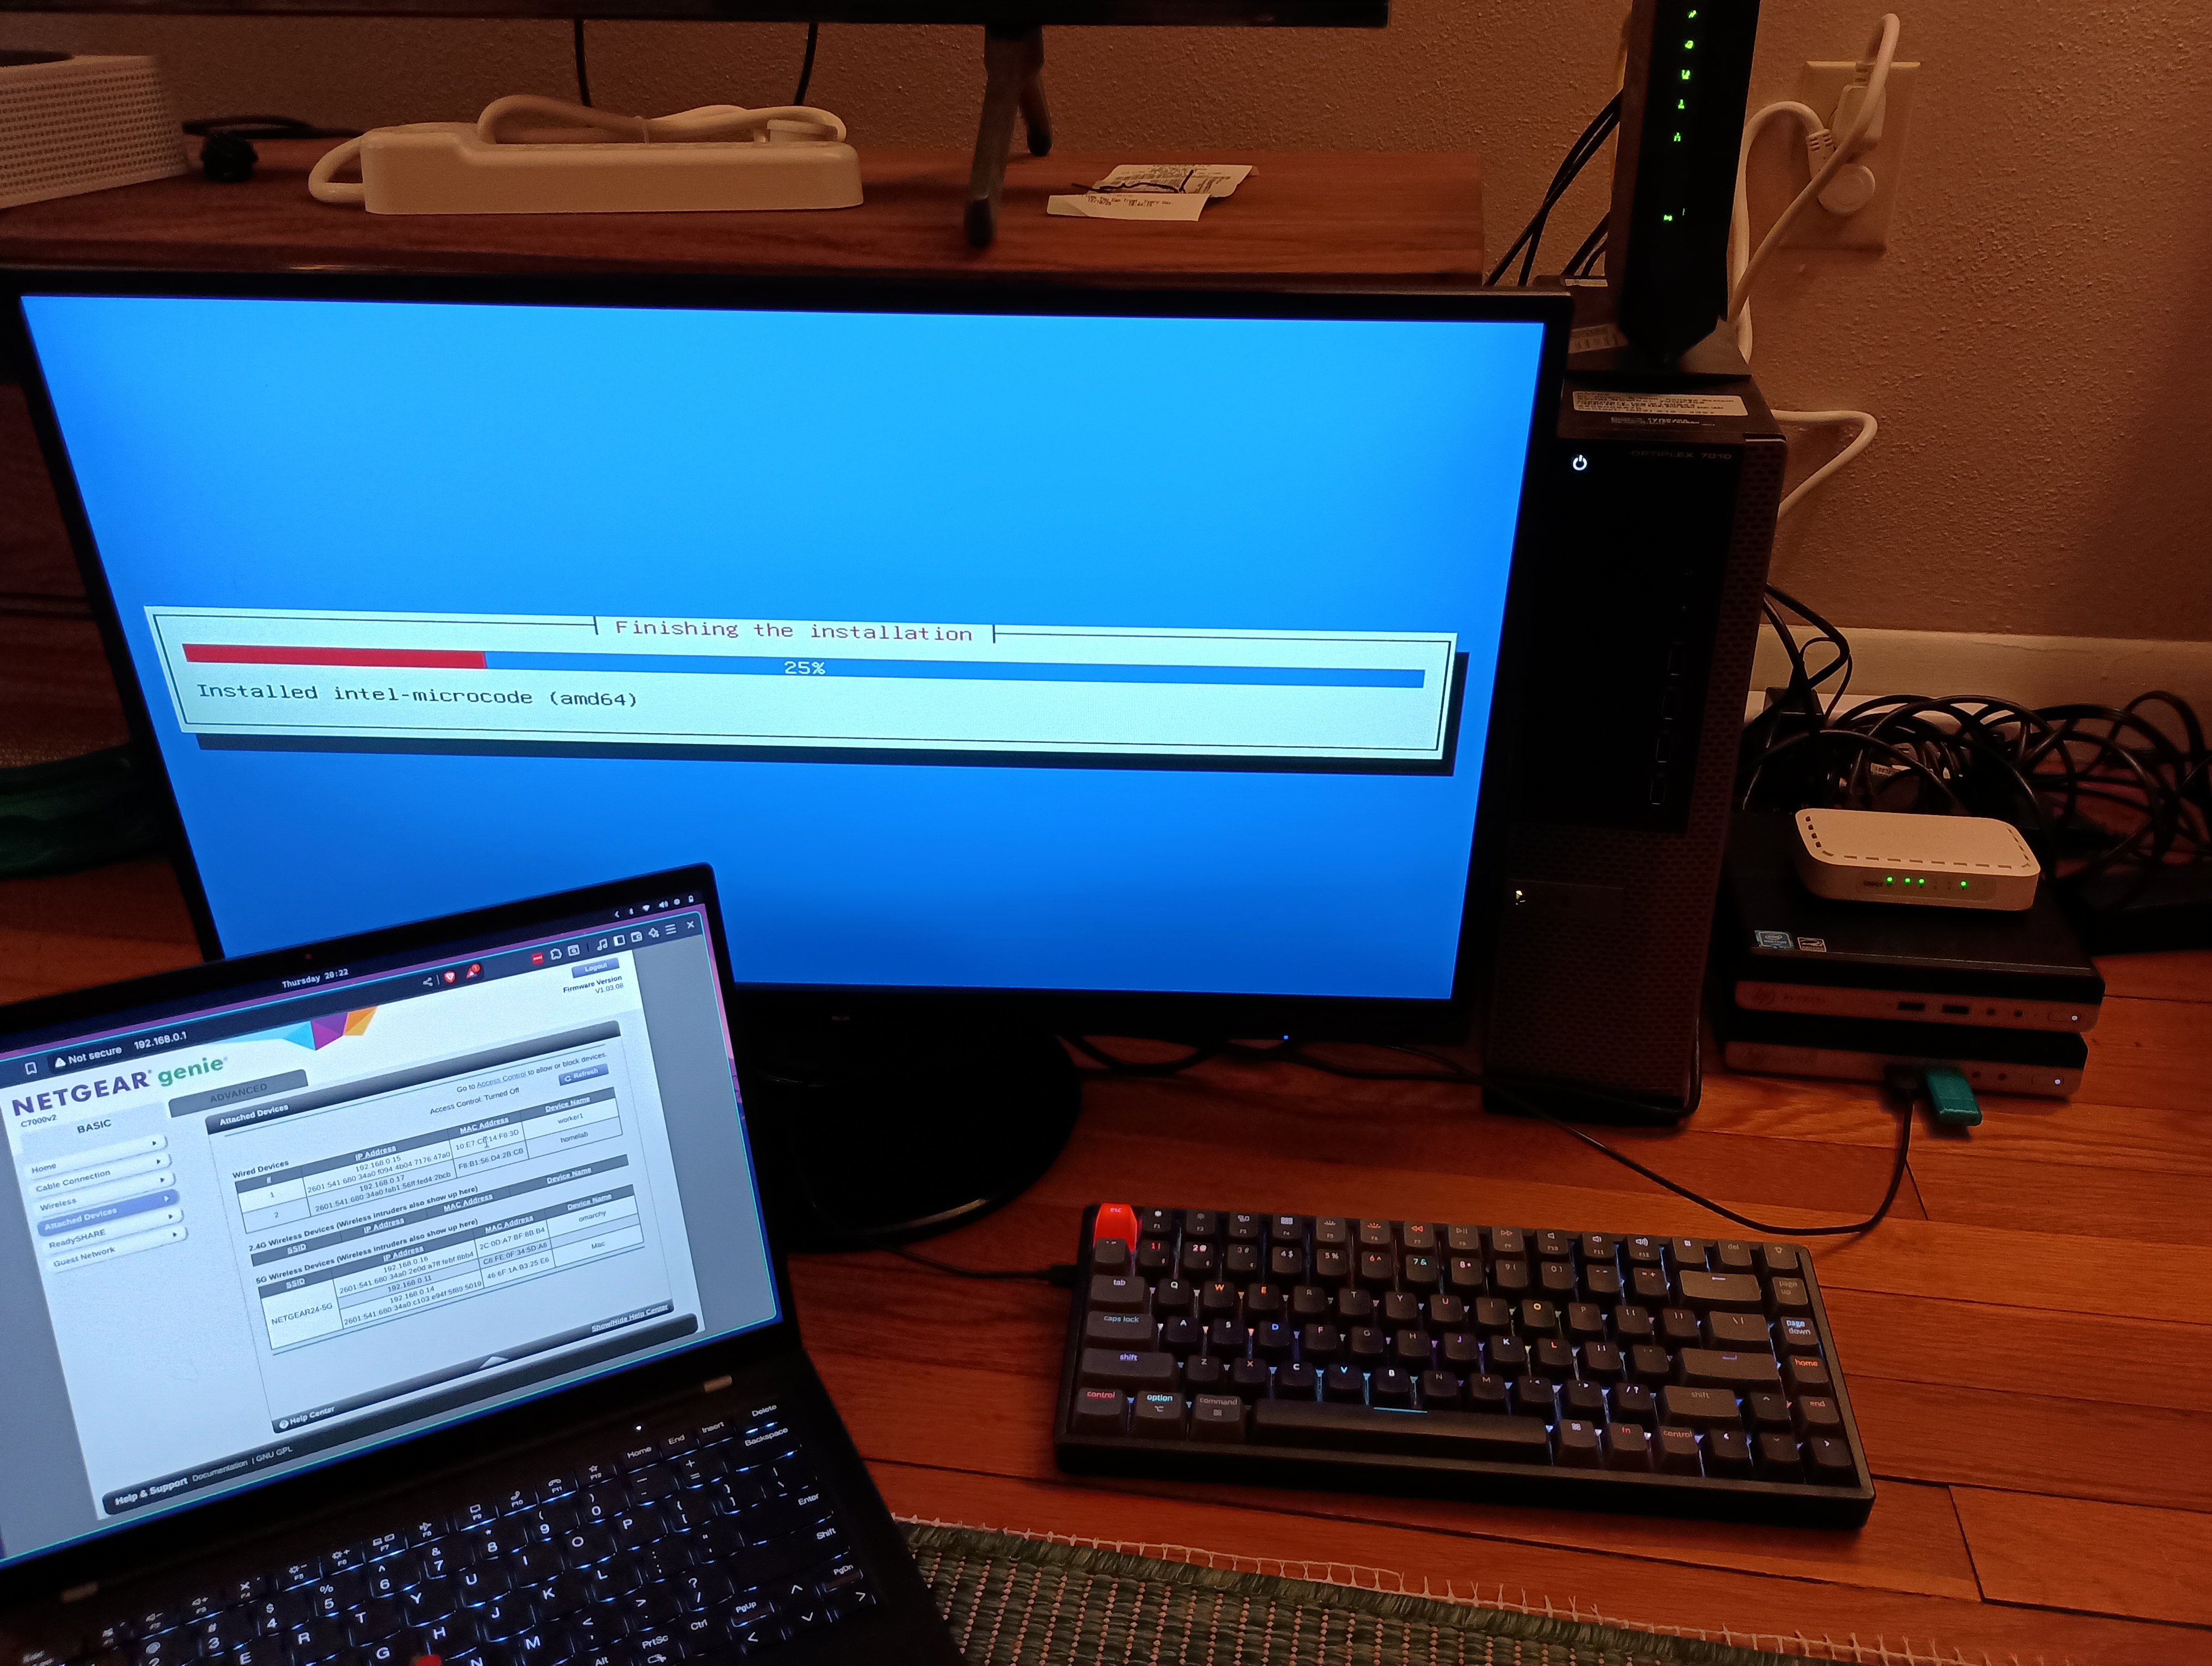
They are given the host names ‘control-plane’ and ‘worker1’ respectively.
Network Setup#
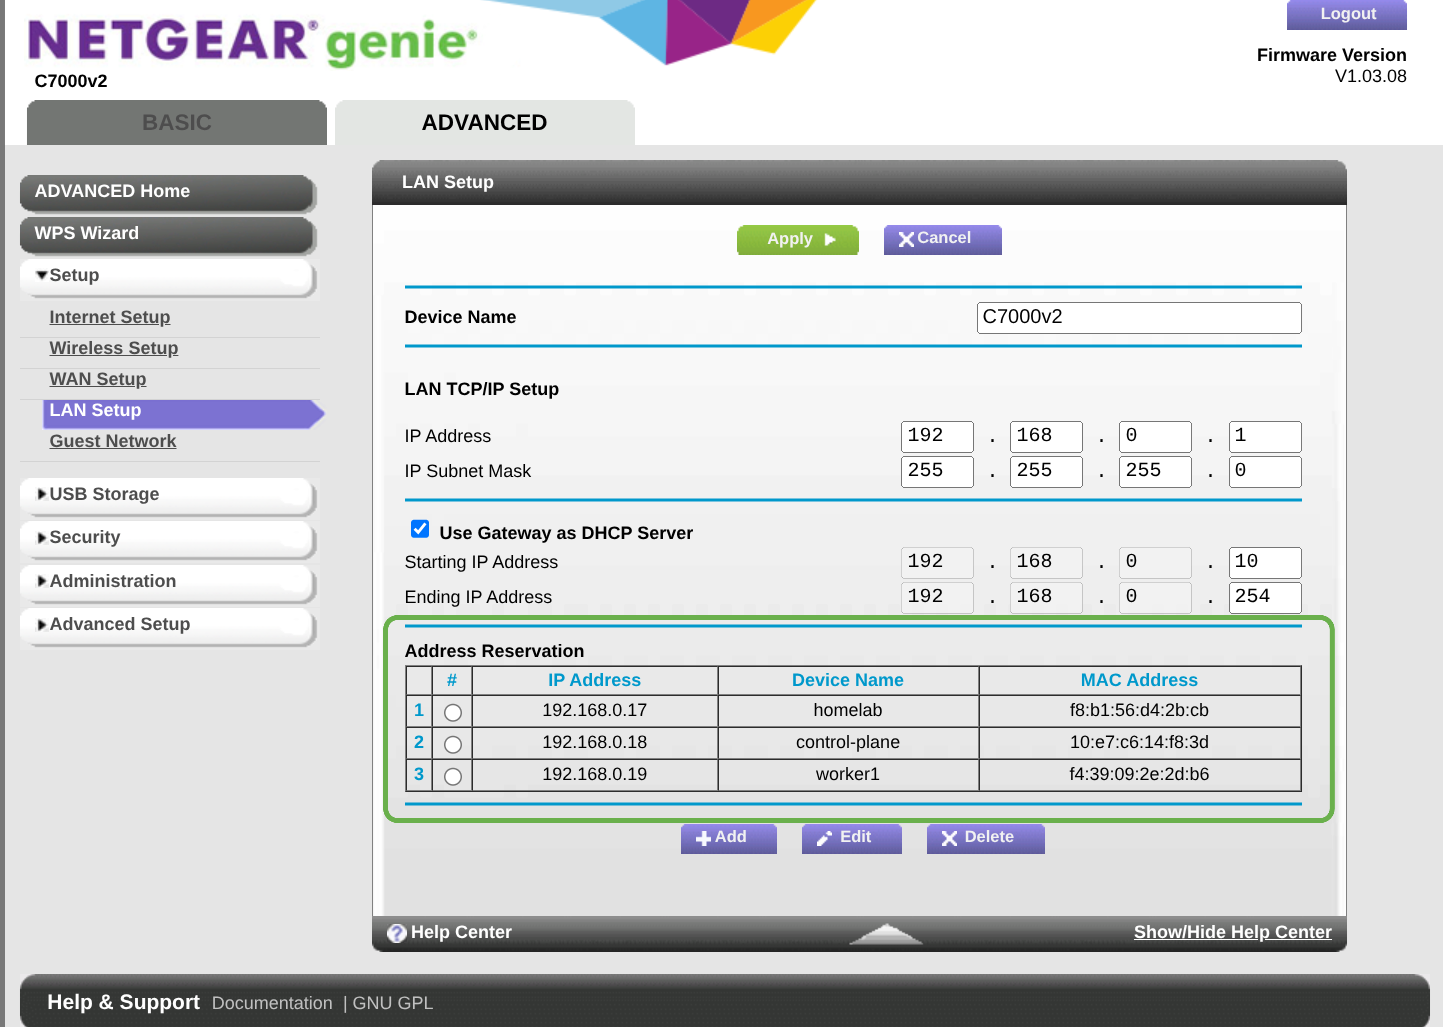
The DHCP IP reservations are added, just like I did for my main box.
SSH#
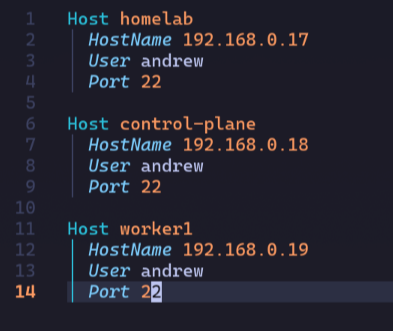
Same as in Ch 2, I set up my SSH keys and update my laptop’s ssh config:
Kubernetes#
Many distributions of kubernetes are available for different uses.
While I do initially consider full-blown k8s with kubeadm,
I decide on k3s instead for a few reasons:
- single binary install
- easier to maintain / upgrade
- not too different from the convenience of managed cloud clusters
The architecture does diverge somewhat from k8s, but I’m ok with that.
I’ll follow along with the quick start documentation.
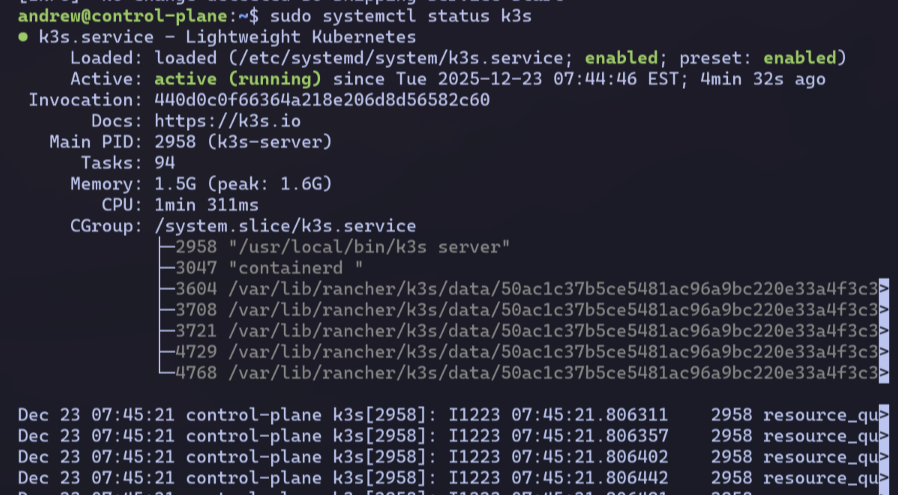
Control Plane#
I start with the installation on the control-plane host and verify the k3s service is running:
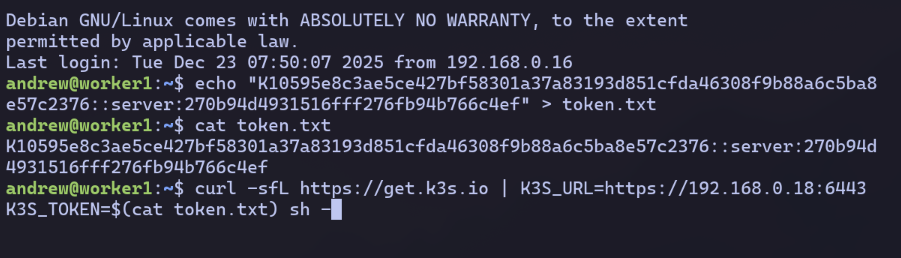
Worker Node#
I copy-paste the token value from the control-plane host into a .txt file on the worker1 host.
Then I run a modified install command using the IP of my control-plane host and the join token value.
Kubectl#
From my control-plane host, I verify the cluster is up.

I copy the contents of /etc/rancher/k3s/k3s.yaml file from the control-plane to ~/.kube/config on both my homelab and laptop hosts.
Now I can access my cluster externally from those machines:

Awesome!