Ch 2: SSH#
I want to control this box from my laptop over my home network.
This can be done with a secure shell (SSH) connection.
SSH Service#
First, the OpenSSH daemon needs to be active and listening on my box.
It should already be installed per my election in Ch 1.
Debian uses systemd as its init system, so I run systemctl status ssh to check.
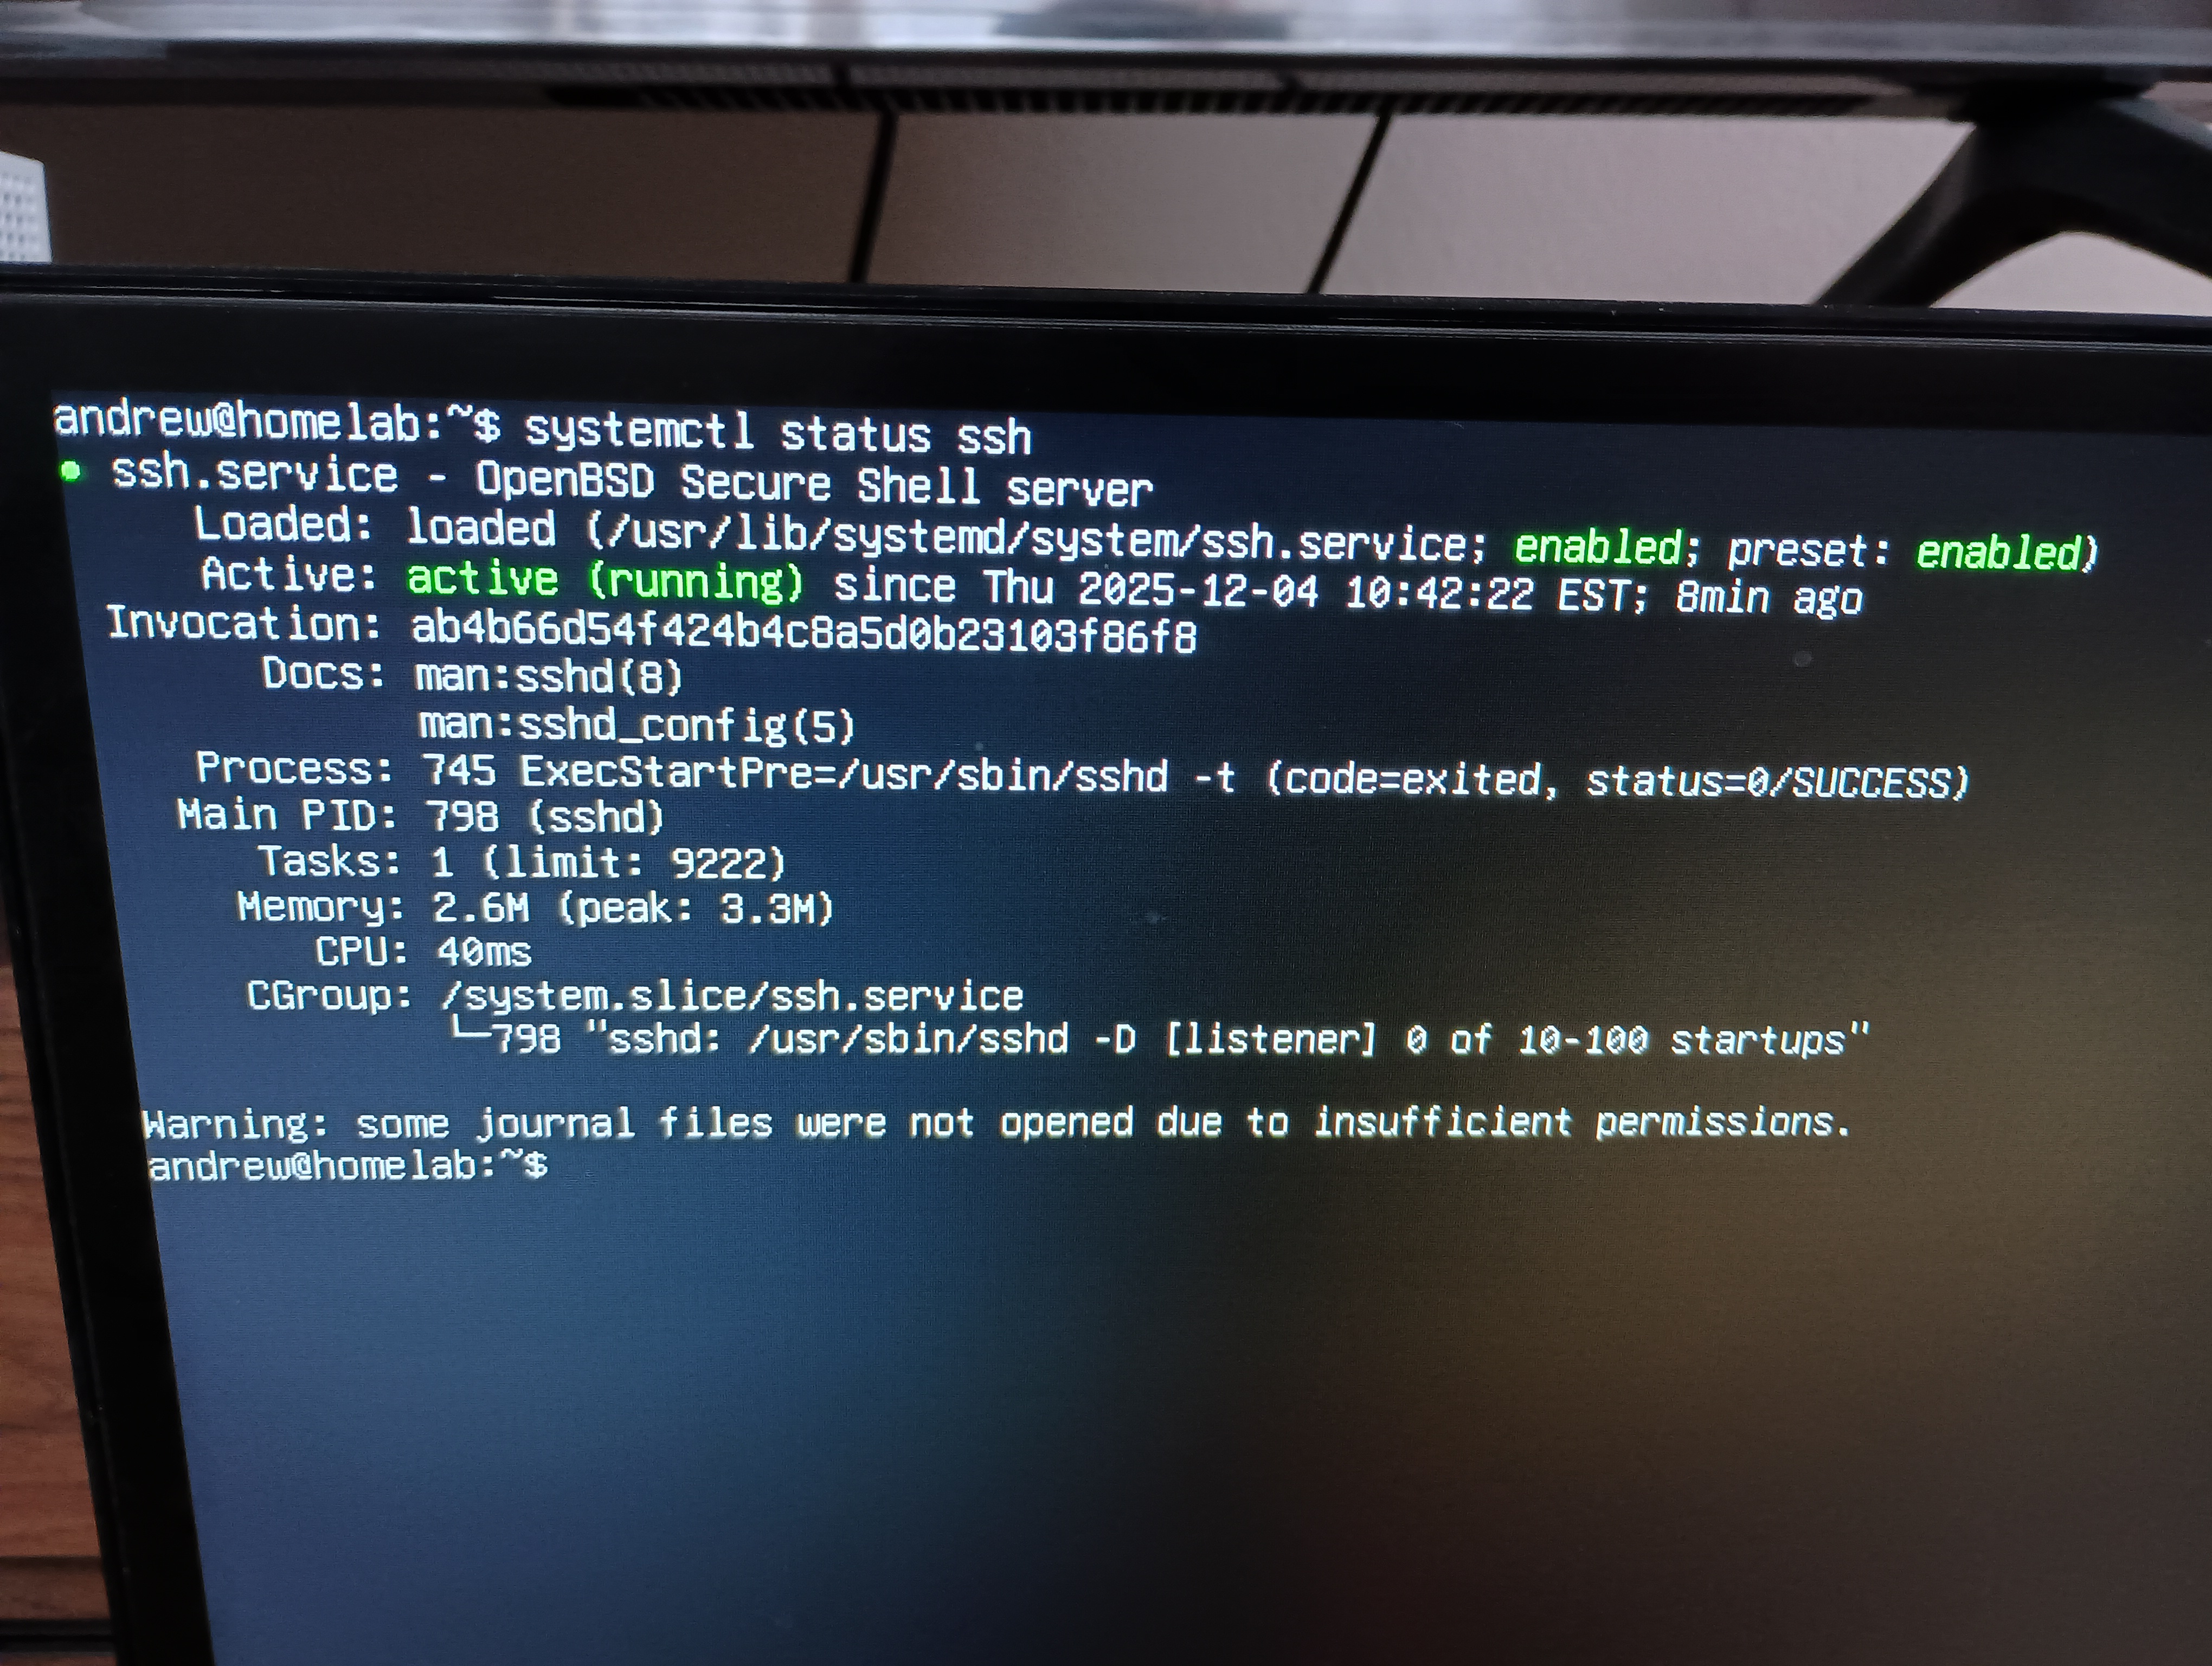
I see its running and enabled, so systemd will always start it on boot. ✅
Server IP#
Next I’ll configure the IP of my box on the network.
Whats the address?#
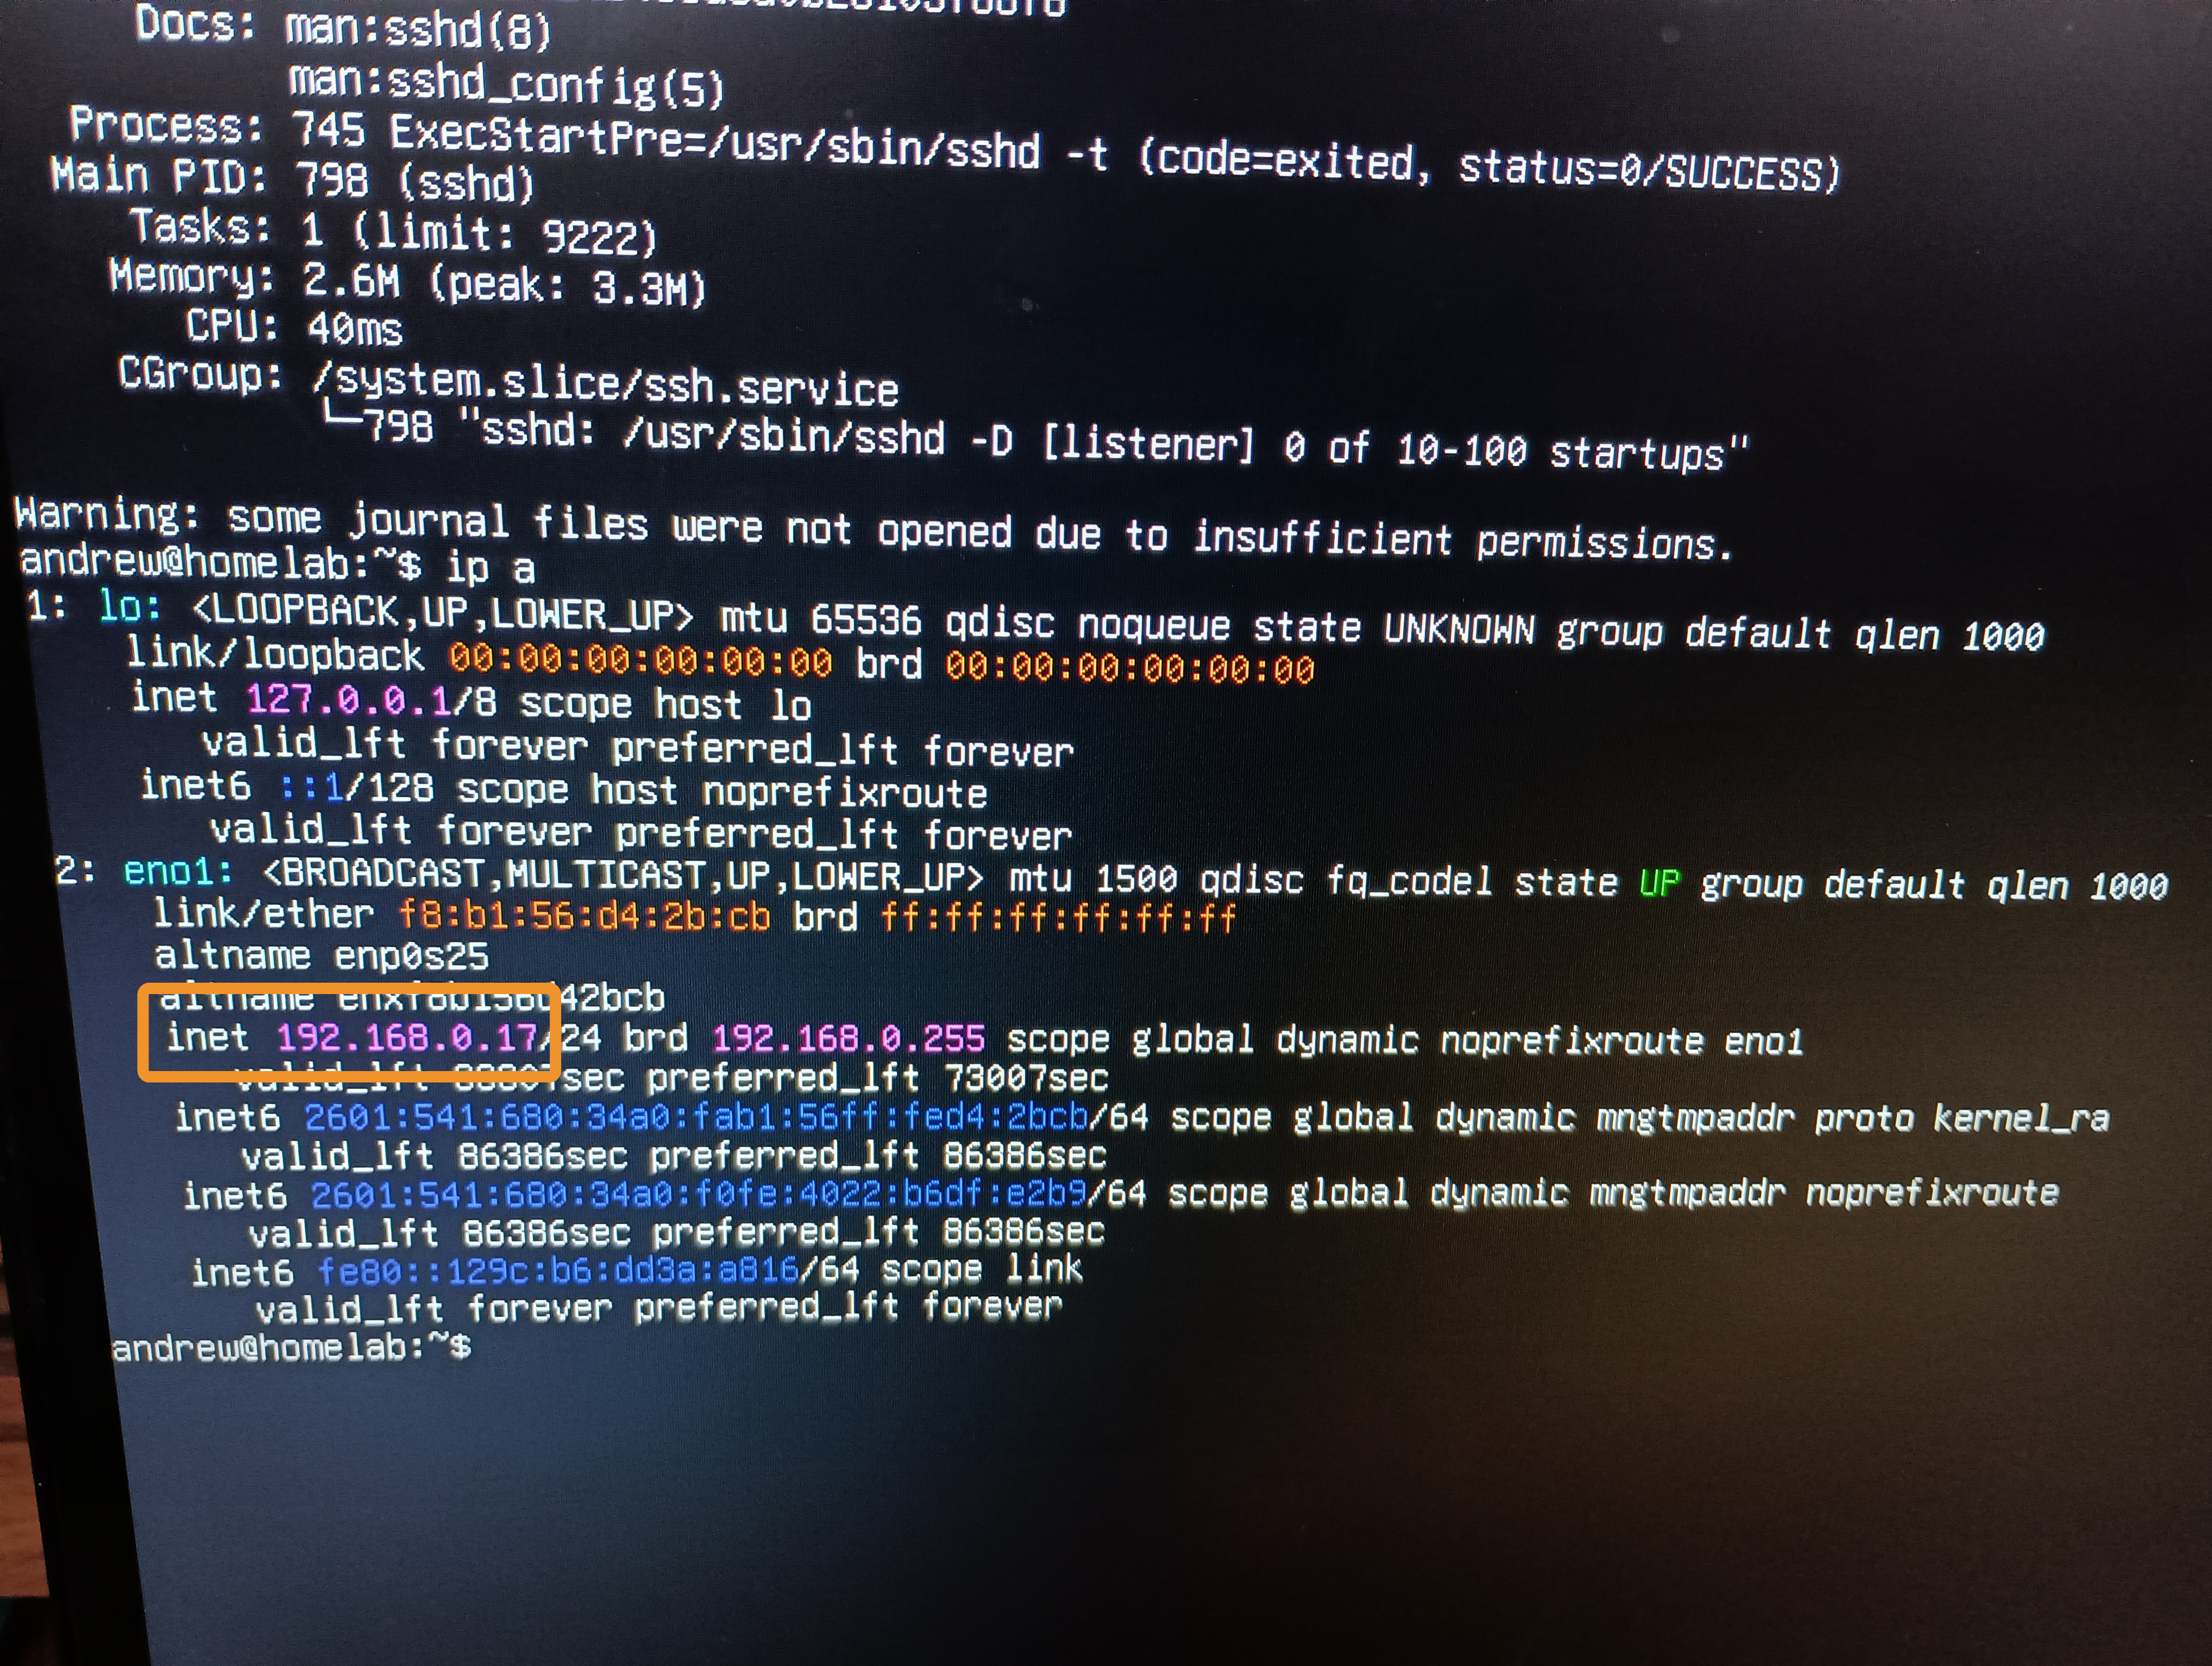
ip a gives me this info.
I see my local network IP on the eno1 network interface (an ethernet port).
Dynamic IP#
This IP has been dynamically assigned to my box by the DHCP server used by my router.
If my box reconnects to the network, it could receive a different IP.
I don’t want that. Luckily, this can be fixed.
Reserving an IP#
Most routers come with a DHCP server and have a web UI to configure things like IP reservations.
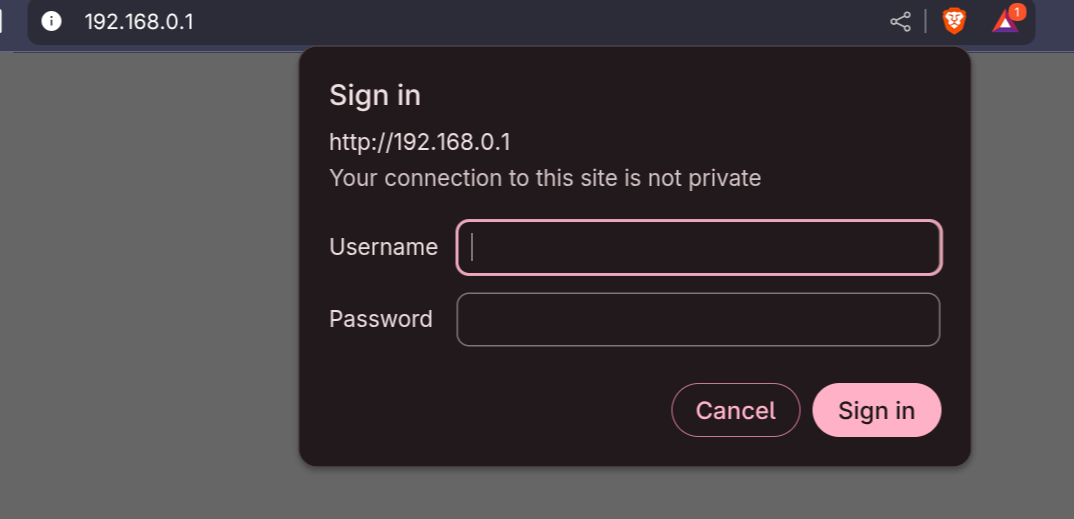
Looking at my box’s current IP, I know my network is 192.168.0.0. Therefore, my router will be at 192.168.0.1.
I enter the IP address into my laptop’s web browser and am greeted with a login.
From here, I can see all devices connected to my network, and I copy the MAC address for my box.
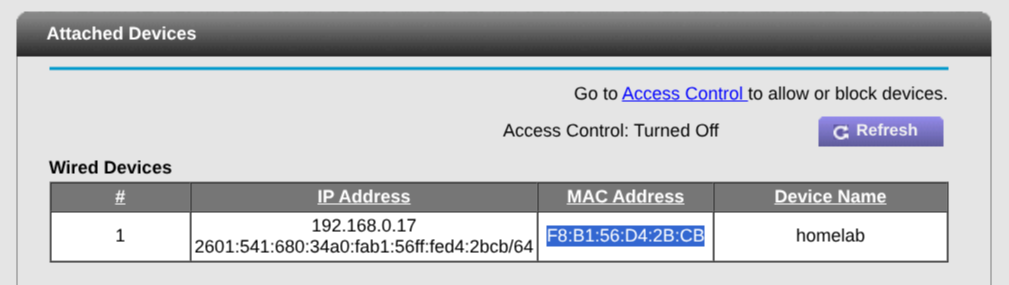
Devices announce themselves to routers using their Mac addresses, which are unique identifiers etched into their physical networking hardware.
Under my LAN settings, I successfully reserve the current IP address for my box’s MAC address.

The server is ready.
SSH Client#
Its time to connect!
Password Authentication#
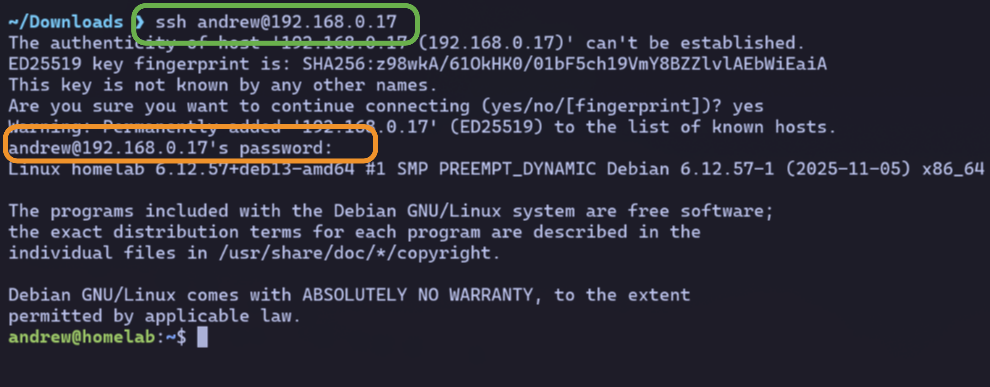
On my laptop, I attempt a standard SSH login with ssh andrew@192.168.0.17.
After prompting me for my password, I’m connected.
However, there is a faster (and more secure) way to authenticate.
SSH Keys#
These are the better login solution.
They are a pair of cryptographic keys:
- a public key to store on the server (for encryption)
- a private key to be kept on the client (for decryption)
The server responds to any request to connect as ‘andrew’ with a special challenge message encrypted using my public key.
Only a client with my private key can decrypt that message and respond appropriately.
If a client responds correctly, the server trusts its really me.
Generating SSH Keys#
I run ssh-keygen -t ed25519 opting for the newer ed25519 key type over the standard rsa.
Ed25519 is recommended these days as its smaller and faster while just as secure.
Copying Over My Public Key#
The server needs my public key.
I could manually copy it to the correct remote location on the server with scp.
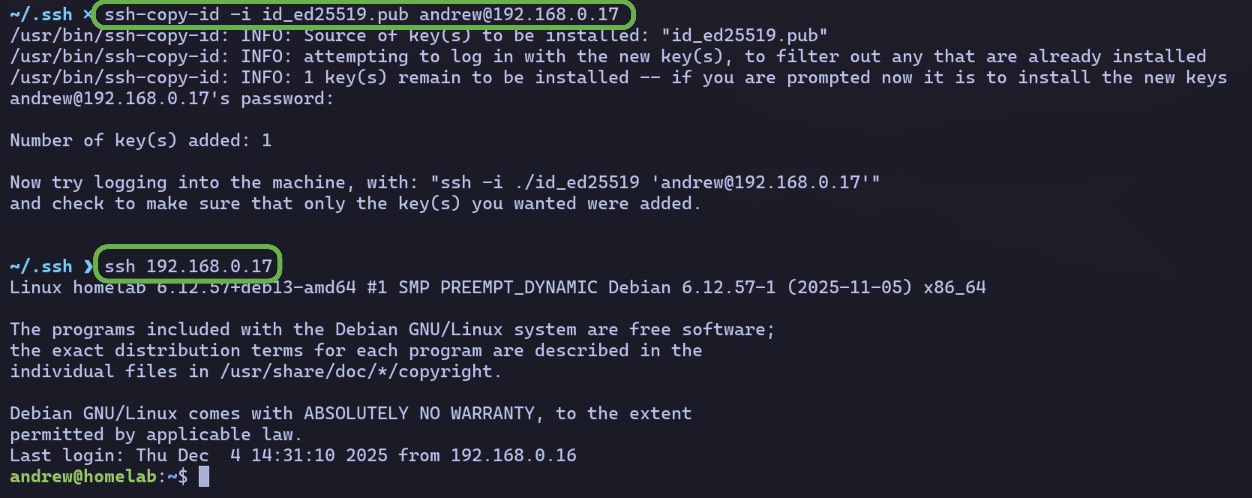
But its easier to do: ssh-copy-id -i <my public key name> andrew@192.168.0.17
Now my SSH keys are all set. 🔑
Hostname Alias#
It’s tedious to type out 192.168.0.17 each time.
Luckily I can ‘alias’ this to an easier name.
There are multiple ways I can achieve this including:
- adding a bash alias in my ~/.bashrc file
- adding an entry to my /etc/hosts file
But I’ll opt for the SSH config file.
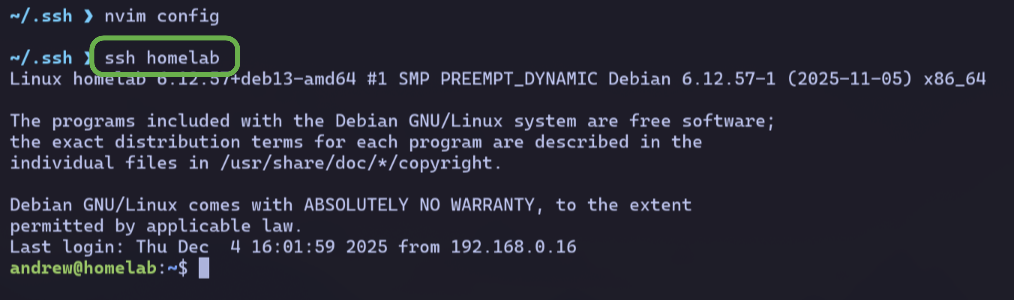
I create a new file ~/.ssh/config with the following contents:
Host homelab
  HostName 192.168.0.17
  User andrew
Now all I need to type is ssh homelab and I’m in.
Disabling Password Auth#
One last step.
Its a good security practice to disable password logins once SSH keys are set.
This prevents brute force password crack attempts.
On my homelab box, I edit the following line on /etc/ssh/sshd_config:

Then reload my config with sudo systemctl reload ssh.
Now when I attempt a password login from a different machine, my access is denied.

SSH is 👍